Friday 22 May 2020

Declare Trigger Rule in Pega

Hi Friends, today we will see the use of declare trigger rule in Pega.


I have a class TGB-HRApps-Work-Candidate, In this class I have created some cases(C-1,C-2 and etc..). 

If Anyone delete any case(assume C-1)  I wants to see information like operator who deleted the case and pzInsKey of the case.

How we can achieve this? 

We can configure declare trigger rule , which will trigger whenever a instance is delete in the class. 

In  trigger activity we can add steps to save those details.

Lets do this practically

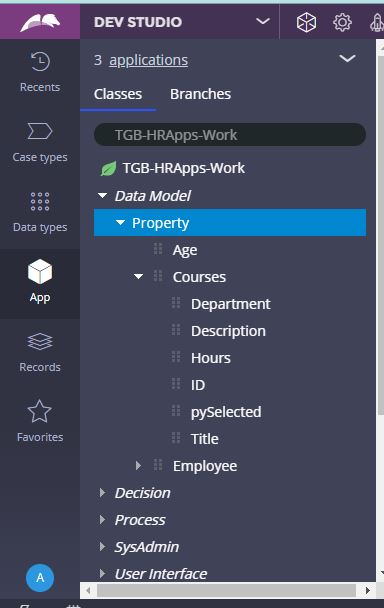
In below image we can see the list of case id available in candidate class.

Instance of Work class
.
In the same class I am creating a Declare trigger rule.

Declare trigger rule creation

From the list of option available , I am selecting Commited Save so whenever I am doing delete and commit this declare trigger rule(MonitorDelete) will trigger. 

Declate trigger option

When try to save a error message displayed . It is mentioning that Trigger activity is not of type trigger.

Declare trigger rule error

    Updated the activity type to trigger.
Declare trigger activity type
Now can able to save the rule.

Rule Saved

Created a data class to store the deletion details.
data class

Created 3 properties in this class.

data class property creation

Click on the below highlighted button to create local table .
create table button

Added Key for class.

Added Key for class

So lets configure the trigger activity steps. Below is the list of steps in the activity.

Activity steps

Pages and class tab:

pages and class tab

In the property-Set added the data to save to table.


In the first step we are checking whether pxInsKey has values are not. If it has values then only we are allowing to execute the activity.

when condition


Lets check the work we have done.


Created a sample activity to delete the instance.

deletion activity


Ran this activity and traced it.

tracer
In the above image you can able to see the declare trigger was triggered on the deletion and its activity got executed.


In the table you can able to view who deleted and which pzInskey got deleted .

rec


Thank you for reading this post.  If you have any doubts please ask in comment.


Reference:

Pega help file:

Sunday 17 May 2020

How to Create a new Operator ID using Activity


Hi Friends, today we will see how to create an operator id using an activity in pega. 

Pega has builtin activity named CreateOperator  . This activity has some parameters that is required to create operator id we have to provide those values.

Lets see how to do that.


Created a simple flow, in the first assignment we are getting personal information. In the utility we are generating operator id.

Simple flow

We need to save as Pega built in activity CreateOperator to our application ruleset with different name because this activity has availability Final

And also we have to remove the last 2 steps (show-property) after saved as the activity to our ruleset.
Create Operator Utility


Saved as the activity to my ruleset and changed the name. In the below image you can see I removed two show-property methods.

Create New Operator


Parameters required to this activity:

We have to provide all the required parameters.
Parameter Tab of Create Operator activity


Created another activity in that I have set all the required parameters below that called the CreateNewOperator activity.

For the CreateNewOperator activity I have enabled Pass current parameter check box so that all the parameters in this steps will flow into that activity.
parameter set


Above activity is the utility that I have called after the assignment in the flow.


Lets run the case and check.

Provided all the details in the first assignment.

Case

First assignment got completed.

assignment completed

So lets check operator id has created or not

OperatorID Instance


Operator Id Created!

Thank you guys for reading , Ask in comment if you have any doubts.

Thursday 30 April 2020

Pega PowerPoint Generator

Pega PowerPoint Generator


Hi Friends, Pega provided Power Point Generator for generating PPT from our case  details.

In this Post we will see how to do that.

I did this with the help of  Ravi Kumar Pisupathi. He guided me in importing Jar into Pega.


you can download Jar file for Pega Powerpoint generator from the below URL.

https://community.pega.com/marketplace/components/pega-powerpoint-generator

After downloaded the file extract the jar file.

So next step is  we have to import the jar file inside archives folder into Pega.


In the below screenshot you can able to see I am importing the jar inside archives folder.

Next screen in wizard will be like below screen.

Dont make any changes simply click next button.


Complete the import process. As I am already imported the jar file into my system record moved displayed as 1. In Initial import more than 30 rules will be moved into our system.

I forgeted to tell one thing. We have ReadMe file under the documents folder.


In Read Me file we can see how to configure PPT Flowaction everything.


As mentioned in the ReadMe file we have to restart the application server once import completed to view the changes.

After reboot we can able to view PegaPowerPointGenerator ruleset in our ruleset instance.


We have to add this ruleset in our application ruleset stack.

Save the application rule.

Now our next work is to create a ppt template file and we have to import that into pega.

We have demo ppt file inside the examples folder.


Lets map this property pxApplication and pxApplicationVersion of pyWorkPage in our Sample ppt template.

In the below image you can able to see that the properties are mapped.

Save this file

Now we have to import this file into our pega using Binary file rule.


Create binanry rule.

Provide any name in label, I provided directory name as ppt.

Created sample template is in extension pptx so provided here extension as pptx.


Uploaded the template file.


Lets test our work.

created a sample flow in the connector

In the assignment connector added flow action(GeneratePresentation).


Lets run the flow.

Select the template from the dropdown.


After provided all the details in the UI.


After click Generate presentation we can able to see the attachment attached to the case.


In the downloaded ppt  file we can able to view the value which present in clipboard.


Now lets see how to display table in template.(Source for the table is a page list data)


Below is the list of courses records .
Added a utility in Flow to retrieve the courses record from table.

Activity steps , In step 1 we are retrieving all the courses records and in step 2 transferring data from courses.pxResults to .Courses Property List.

Step 2 : Property Set
Step 1: Obj-Browse

Pages and Class tab:


.Courses is a property created in Work class which is pagelist.


.Courses Property rule.


Now its time to map the pagelist table syntax in same ppt template.

Added syntax for showing pagelist in PPT.


Upload again this template ppt into the binary file as we made changes in template.

Lets run the flow again and generate ppt.


Below is the result.


hope you guys understood about this post.

Thanks you for reading. Ask in comment if you have any questions.