Hi Friends, today we will see how to connect Pega with Jira. I have followed below Pega article.
https://community.pega.com/knowledgebase/articles/application-development/84/integrating-agile-workbench-jira-pega-platform-73x-74x
Step 1: Download and install Jira component
Go to Pega Market place and download the Agile workbench Integration with Jira component
Click on manage component -> Click on Install New button
Enable the installed component and click ok Button.
Save application definition rule.
Step 2: Create New Jira project and Releases
After logged in, select the product Jira software
In the next screen, select Get if Free button
In the next screen, without selecting the other product, click next.
Provide site name and click Agree
In the next screen, select skip or select any tools required.
In the next screen provide the basic information and click skip or next.
Selected Scrum software development tool and used this template
In the next screen, selected “Select a
company - managed project”
In the next screen, provided Project name and key and clicked Create
Once project created, Click on Releases menu
and create a release.
Release Created
Step 3: Create Token
For
authentication of rest API, we have to create Token ( Password for
authentication)
Go to
:- https://id.atlassian.com/manage-profile/security/api-tokens
Click on Create API Token -> Provide
token name and click create
We can view token in the next page( Copy the token)
Click close.
Step 4: Add the Credentials in Pega
Once, token created -> Open PM_Jira_AuthProfile Authentication Profile instance (this instance comes with Jira component)
Update the rule with User Name(Jira registered EmailID) and password (token) and save
Step 5: Update Reporter Id in Preferences
In Jira go to Profile and copy the User ID
User Id , we can get it from the profile screen URL.
Go to Preferences screen from profile icon and update the User Id
In Project management -> add the User ID field and save
Step 6: Configure Jira and Pega Connection
Go to Application Definition -> Integration & Security tab and click on Configure integration button
Click on Jira.
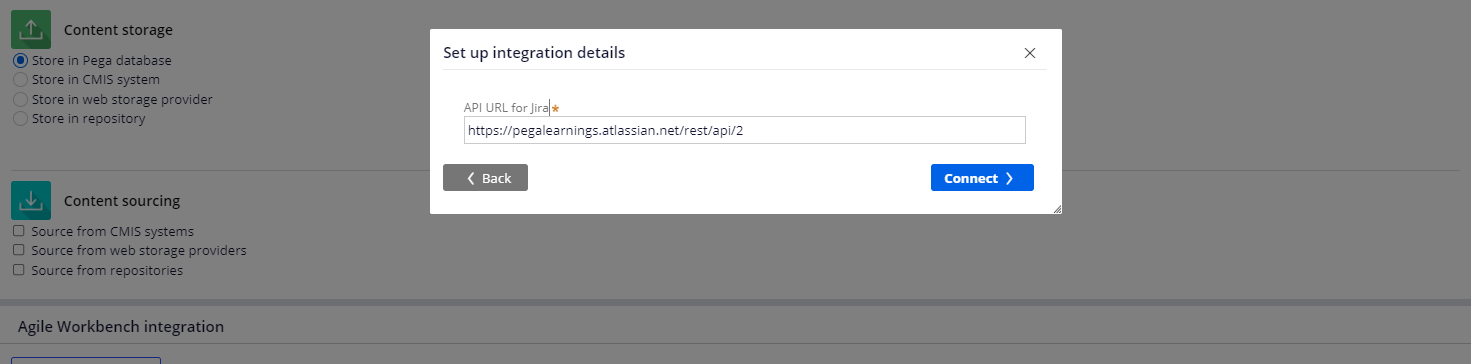
Replace highlighted sample URL with the baseurl
Before:
Select project name and project version from the dropdown and click Begin Integration button.
Once the integration is successful, below screen will display.
Click Done button.
Step 7: Verify the connection between Jira and Pega
Create a new bugs/Story to verify the integration:
Go to app Studio -> Click on Toggle Agile workbench icon
Create new story and click Save button.
We can see the created ticket in Jira software.
on selecting the ticket in Jira, we can able to view the details provided in Pega.
Thanks for reading, if you are having any doubt, please ask in comment.