Sunday, 18 July 2021

Jira Integration with Pega

 Hi Friends, today we will see how to connect Pega with Jira. I have followed below Pega article.

https://community.pega.com/knowledgebase/articles/application-development/84/integrating-agile-workbench-jira-pega-platform-73x-74x


Step 1: Download and install Jira component 

Go to Pega Market place and download the Agile workbench Integration with Jira component


Click on manage component -> Click on Install New button


Enable the installed component and click ok Button.


Save application definition rule.


Step 2: Create New Jira project and Releases


Go to https://id.atlassian.com/login  - Register and Login in to the account.


After logged in, select the product Jira software


In the next screen, select Get if Free button


In the next screen, without selecting the other product, click next.


Provide site name and click Agree


In the next screen, select skip or select any tools required.

In the next screen provide the basic information and click skip or next.
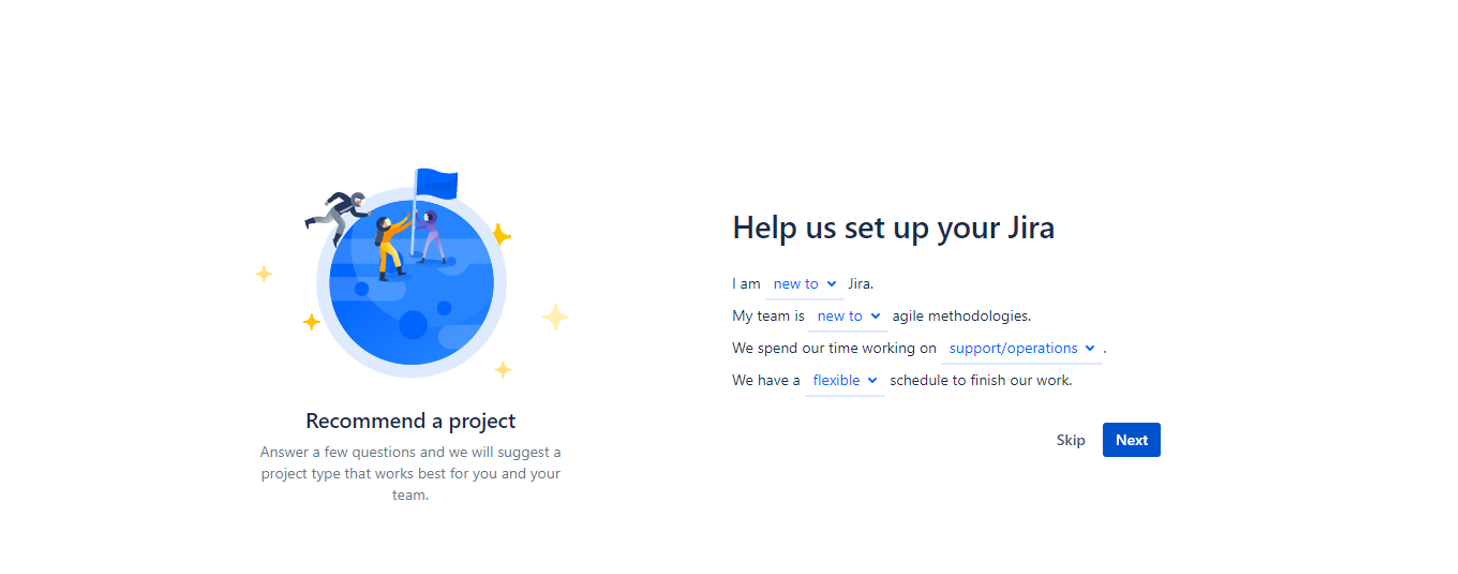

Selected Scrum software development tool and used this template


In the next screen, selected “Select a company - managed project”


In the next screen, provided Project name and key and clicked Create


Once project created, Click on Releases menu and create a release.


Release Created


Step 3: Create Token


For authentication of rest API, we have to create Token ( Password for authentication)

Go to  :- https://id.atlassian.com/manage-profile/security/api-tokens

Click on Create API Token -> Provide token name and click create


We can view token in the next page( Copy the token)


Click close.


Step 4: Add the Credentials in Pega

Once, token created -> Open  PM_Jira_AuthProfile Authentication Profile instance (this instance comes with Jira component)


Update the rule with User Name(Jira registered EmailID) and password (token) and save


Step 5: Update Reporter Id in Preferences


In Jira go to Profile and copy the User ID


User Id , we can get it from the profile screen URL.


Go to Preferences screen from profile icon and update the User Id


In Project management -> add the User ID field and save


Step 6: Configure Jira and Pega Connection


Go to Application Definition -> Integration & Security tab and click on Configure integration button


Click on Jira.


Replace highlighted sample URL with the baseurl

Before:

After:
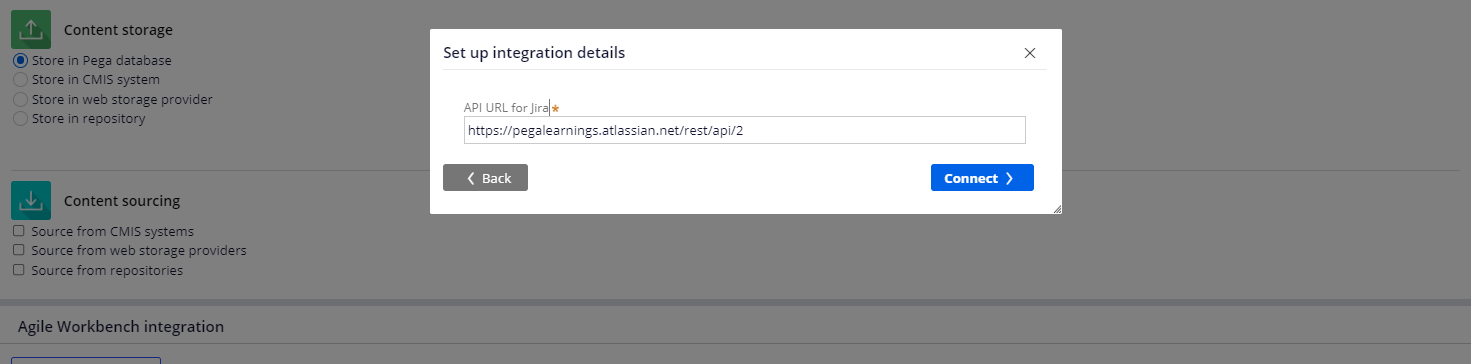

Click Connect.

Select project name and project version from the dropdown and click Begin Integration button.


Once the integration is successful, below screen will display.


Click Done button.

Step 7: Verify the connection between Jira and Pega


Create a new bugs/Story to verify the integration:

Go to app Studio -> Click on Toggle Agile workbench icon


Create new story and click Save button.

We can see the created ticket in Jira software.

on selecting the ticket in Jira, we can able to view the details provided in Pega.


Thanks for reading, if you are having any doubt, please ask in comment.


Sunday, 27 June 2021

Application Based Validation in Pega


Why Application Validation In pega?

  • Alternative validation method of Ruleset Validation
  • By using Alternative validation , we can reduce complexity in managing ruleset versions prerequest

How ruleset version prerequest issue can be resolved by using Application based validation?

  • ABV uses application definition to find the rules insteed of ruleset prerequest list.
  • A rule can refer any rules in the application definition ruleset or its built on application


How to enable Application Based validation?

Open any ruleset -> we can select application validation or ruleset validation at the versions tab.


Rules present in application validation enabled ruleset can refer any rule in application definition ruleset stack or in built on application ruleset stacks.

How ruleset validation was used?


If Ruleset validaiton is enabled, then rules present in the ruleset can refer only the rules listed inside the ruleset

How to validate ruleset or application quickly?


Pega provide landing page to validate rules present in ruleset or application. Follow below path to open

Configure -> Application - > Tools - > Validation


How to use collection rule in pega

Collection Rule Overview:

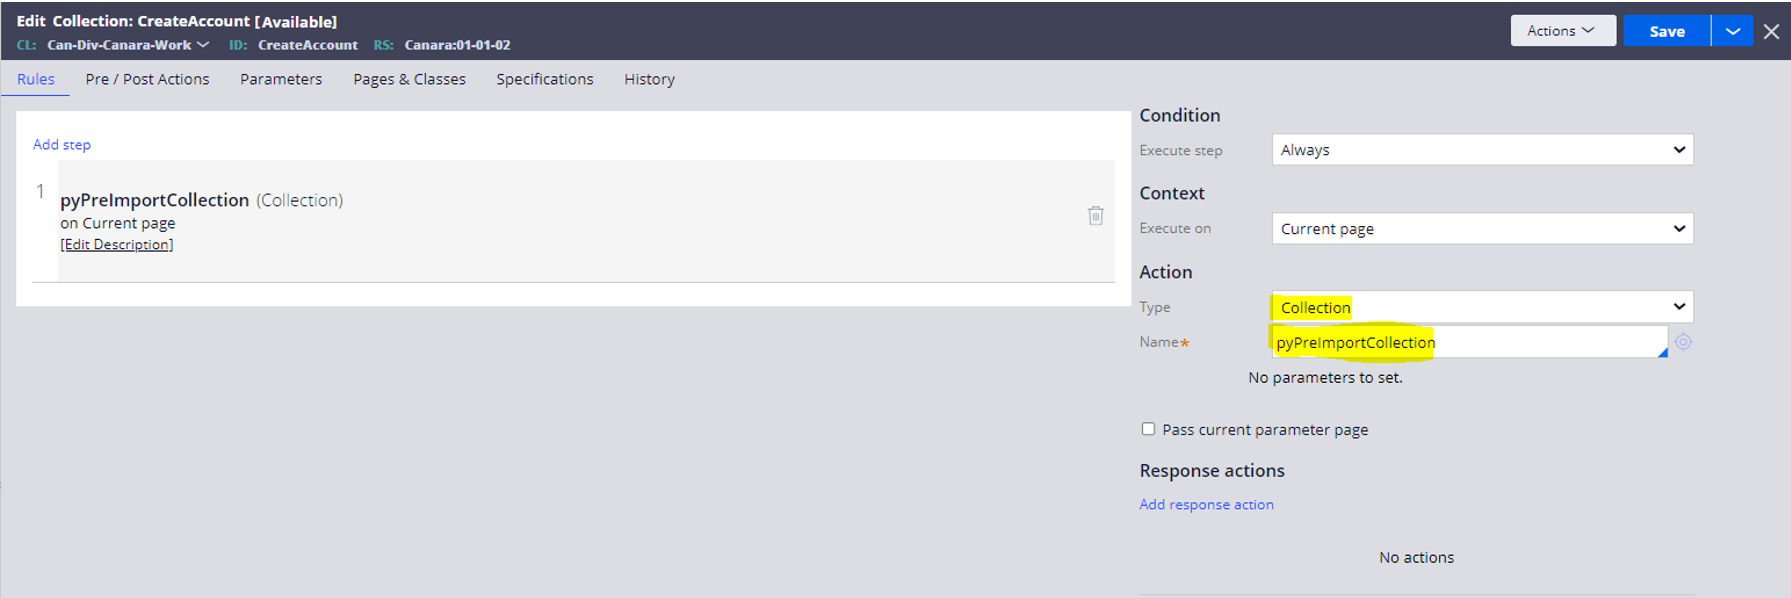
Collection rule is similar like activity rule, this rule we can use to build business logic. It contains orfer collection of steps this will execute in sequence. Similar to the flow action rule , collection rule has pre and post action. we can navigate very easily in this rule as per my experiance.

Rule Class Name: Rule-Declare-Collection


Where we can refer this rule?

We can refer this rule in activity using Collect Method or inside another collection Inside activity:
Calling collection rule from activity

Inside another collection:
Calling collection rule from another collection rule

What is the use of this rule?

We can run multiple functionality like activity, data transform, decision table, decision treee, expression, function, map value, set property, stop , when . In sequence similar like activity using this rule.

Collection rule

What is response Action in each step?

After completing the step mentioned, If I want to perform any particular action when an condition met I can add in the response action .

response action in collection rule

In response action we can call, activity, data transform, expression, function, set property, stop

What is pre/Post actions in Collection rule?

In flow action, we are having pre and post action concept, similarly in collection rule we are having pre and post actions , We can execute some rules on loading collection rule or on completing collection rule.

pre and post action in collection rule

How to create a new function in Pega

 Hi Friends, In this post we will see how to create a new function inside Pega and how to use it by expression builder.


Why we use function on my own way:

Assume a block of java code, which we are using in multiple places in our application. Instead of writing it in multiple places again and again, we can write that java code in a function so that we can reuse that function in our application wherever we need.

Writing a function in Pega is very easy to do. Lets see how to do that.


Below is the java code to get the reverse of a number. We will see how to create this as a function in pega.

class Main {
  public static void main(String[] args) {

    int num = 1234, reversed = 0;

    // run loop until num becomes 0
    while(num != 0) {
    
      // get last digit from num
      int digit = num % 10;
      reversed = reversed * 10 + digit;

      // remove the last digit from num
      num /= 10;
    }

    System.out.println("Reversed Number: " + reversed);
  }
}


First of all we have to create a library, If we are having already a library we can use that. In our case we will create a new library and use it.


So why we have to create library, In library we can keep the java packages so that we can reuse this packages in all the function creating with this library.


Creating a library with a name

Go to Rule Explorer -> Technical -> Library -> Create New


In Library rule, we can provide any package and static variable if  we needs inside the function rule

Note: Any packages or variable provided here is accessible inside function rule.


After creating library We will create a function rule named "ReverseNumber"

Create Function


Modify the java code to use in Pega function. Output will be returned in the variable "Reversed"

Created new funciton

Set output variable data type

Function output

Enable Function ready to be compiled check box once we have modified the code changes. Lets compile the java code to check whether we made any mistakes.


So lets check the code, In activity , by using expression builder selected the function created and provide the input value inside the bracket.

Select function from expression builder

Save the activity rule and run it. Input value provided is 123456789


Lets trace the activity and view the result.

Output
In tracer , we can view the number was reversed.

If you have any doubts , please ask in comment. Thank you Friends.