Sunday, 25 June 2023

How to view the saved tracer file offline

 Hi Friends, in this post we will see how to install the tracer viewer tool and view the saved tracer file offline.

As per the Read.md file instructions, for running this tool, we have to have minimum java 11 installed in the system.


Make sure minimum java 11 is present in the system by running the below syntax in the cmd prompt.
 

In the below URL, we can able to view the documentation about the tracer viewling tool

GitHub - pegasystems/pega-tracerviewer: The tracer viewing tool helps users understand and debug Pega tracer files. To download the tool, click on the "release" link, scroll to the bottom, and download the tracerviewer zip file.


Click on the highlighted link.

Click on the pega-tracerviewer-3.4.1.Zip downloadable file


Once the file is downloaded. extract the file.


Go to the location bin inside the extracted file and click on the below highlighted batch file.


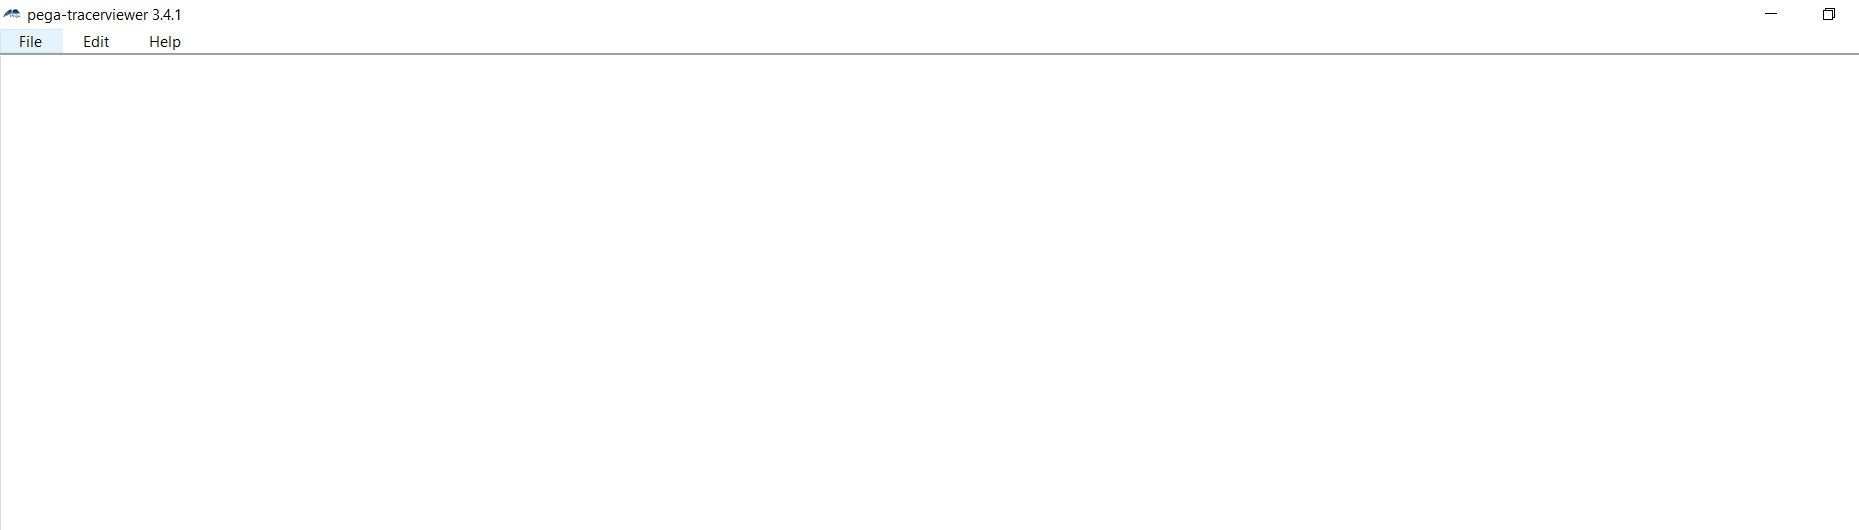
Tracer viewer tool will open.


Now let me open the pega and run a sample tracer and click on save in tracer and extract the jar file.


Click on save in tracer to save the tracer file.

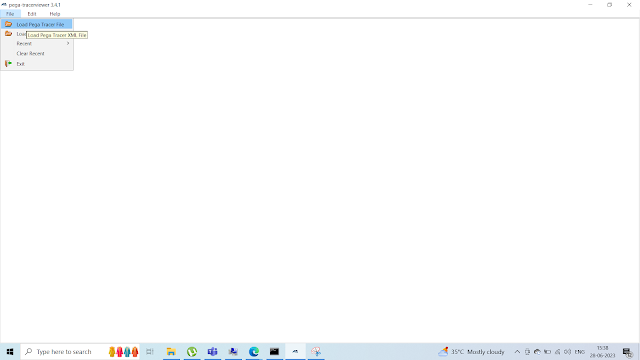
Now go to Pega Tracer viewer and click on file -> Load pega tracer file menu and select the extracted file

Select the xml file and click open


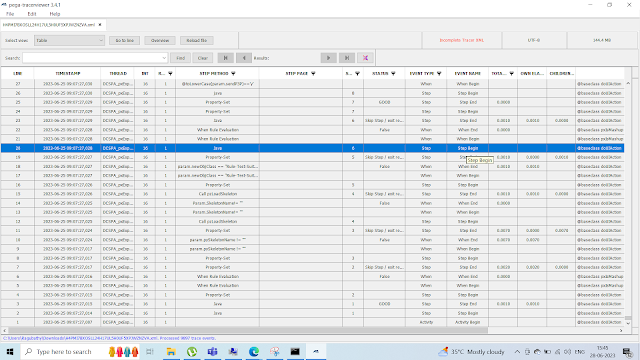
Now, we can able to view the downloaded tracer file


Thanks for reading!

Friday, 23 June 2023

How to use Log Category to debug issues in Pega

 Hi Friends, In this post we will see how to use the Log Category to debug the issues.


In Admin studio, Under resources, we have an option Log Category, using this we can debug issues


There are many useful log categories, by reading the description, we can able to understand about the log category usage.


Now assume, I am facing a problem with a declare index rule, In pega there is a log category to enable to log for declare index,  Default log level is ERROR, we have to update the log label to DEBUG to view the log message related to declare index in the log file.

Updating the log level to DEBUG in pxDeclarativeReporter.Save.Index

Click on Reset at 3 dot and change to DEBUG and submit


Now lets see how it is working..

In Data-Admin-Operator-ID class, we have a declare index rule, this rule will trigger when we are saving a operator with the skill.. lets update the operator with a skill and save.


Added skill English and save


Now log should have the information about this declare index details.

Go to Configure -> System -> Operations -> Log -> Log files

Open the pega Logs


In Log file, we can able to view the log information about the logger


We can able to see , in skill page list 1'st index is changed


Similarly, we can able to change the logging level to DEBUG for other log cateogory and debug. Once we have completed the debug, we have to change the log level to ERROR back.

Thursday, 22 June 2023

How to get the JSON of a page in Pega using data transform

 Hi Friends, In this post we will see how to get the JSON of the page using data transform.


In a customer Information casetype, I have created 2 case


Opening the Workobject and keeping in the CustomerInformation page.


Select additional configuration option as JSON during data transform creation


In the Top element structure, select Object and Select Auto-map all data checkbox.


Before calling the data transform, provide parameter value Param.executionMode as "SERIALIZE"


In the tracer, we can able to see the JsonData after the data transform execution in the parameter page.


Friday, 16 June 2023

How to convert GMT datetime value to EST datetime value in Pega

 Hi Friends, In this post, we will see how to convert a data time value in GMT to EST.


Assume I have a data time field named InputDateTime, In this field, the value is like 


Now I want to convert the date value from GMT to the corresponding EST value,  we can use the expression below to convert the GMT to EST.


@FormatDateTime(.InputDateTime,"","","en_US")


Output value is like below:


Saturday, 5 November 2022

Populating a page under pyWorkPage with data and using on the next assignment

 We have a data type with some records 


Created a case with 2 assignments,

First assignment we are listing all the records and updating the data on a record. 

Second assignment we are routing to a workqueue for approval or reject 


In the first screen , in a table layout displayed the customer data like below


On clicking on row a modal dialog was opened


Since the table layout source is data page, on opening the modal dialog, the data is displaying from the data page .


Updating the first name from Francis to George

After updated the data and submit, we should keep the updated page inside the pyworkpage (to review in second assignment), so called a data transform on modal dialog flow action post processing

In the data transform copying the data from primary(D_CustomerList.pxResults(3)) to a page inside pyWorkPage

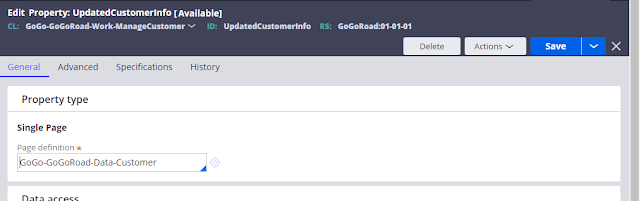
page property using under pyworkpage


on submitting modal dialog, updated data is populated under pyworkpage


Submit and move to next screen


in the next assignment(opened from wb) also has the page.


Second Assignment Configuration:

Reusing the same section displaying inside the modal dialog , to display the data present in the pyWorkPage.UpdatedCustomerInfo


In the second assignment, Updated data is displaying


On Approval, we can update the data present in the UpdatedCustomerInfo page to datapage.

Tuesday, 9 August 2022

DCR (Dynamic Class Referencing) using configuration sets.

Hello Frendz,

In this post, we see about #Dynamic class referencing using the configuration sets.

Starting pega 8.6 configurations sets are available in pega app studio , We can use to reference the class dynamically. In this post we see how we can create a child case using the configuration sets.

 This Demo is created by using pega version 8.6

     ·         Navigate to app studio , in left pane click on settings à Configurations à Manage Configuration

     ·         Click on manage configurations à Add the desired name , here we named it as “DCR”

     ·         Click on Add Configurations, screen will be prompted with pop up to enable the settings.


The configuration set not only to reference the class to create the case, we can make use below option in our configurations set , In Pega 8.7 we will have another one option called, “Constant as per production level”        


 In Pega 7x version we used to create Data transform, Data page, and Property to extend the referencing to other case types.  Starting 8.6 pega provided the new capabilities to refer the configurations sets to reference dynamically.

Now let’s see where these instances will be available in pega after created.

Switch to Dev studio, navigate to App explorer, click on the class Data-Configuration-Setting to see the instance


Now let’s see how to reference those in our case type.

Open any activity/Data transform to open the expression builder,

You will see additionally one option to see the “configurations” click on that and select your configuration set to get the reference as shown in right side.

Copy the entire value and keep it.
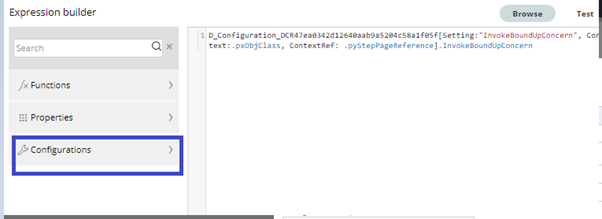


Now here we are going to see how to make use of that copied value into case type.

Here we have Raise Concern – Parent case, We are going to call the “Bound Up Concerns” child case by using the configuration set reference.

Used the create case step to refer the configuration set.
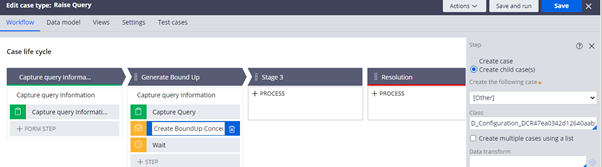
Now Let’s run the case and see our child case is created. As shown below it is created our child case as well.😊

Hope this example helps you in comprehending configuration sets.

Reference Links:

Configuration sets - PegaWiki

Creating a configuration set | Pega

Friday, 13 May 2022

List of all DEBUG loggers to log Service REST/SOAP request and response

 Hi Friends, Below are the list of loggers we have to enable as "Dubug" to debug the Rest and Soap Connector


Connect SOAP:


Rule_Obj_Activity.Invoke.Rule_Connect_SOAP


Rule_Obj_Activity.InvokeAxis2.Rule_Connect_SOAP


com.pega.pegarules.integration.engine.internal.ServiceHelper


com.pega.pegarules.integration.engine.internal.services.ServiceAPI


com.pega.pegarules.integration.engine.internal.util.PRServiceUtils


Rule_Obj_Activity.InvokeAxis2.Rule_Connect_SOAP.Action


Connect Rest:

Rule_Obj_Activity.Invoke.Rule_Connect_REST.Action


Rule_Obj_Activity.pyInvokeRESTConnector.Rule_Connect_REST.Action


How to enable this logger?


Go to Path System -> Operations -> Logs


Click on Logger level settings


Paste the logger and select the Level as Dubug.


Now if we hit the Soap/Rest connector , the corresponding Request/Response log will be append to the Pega Rules Log.

Thanks for Reading!.